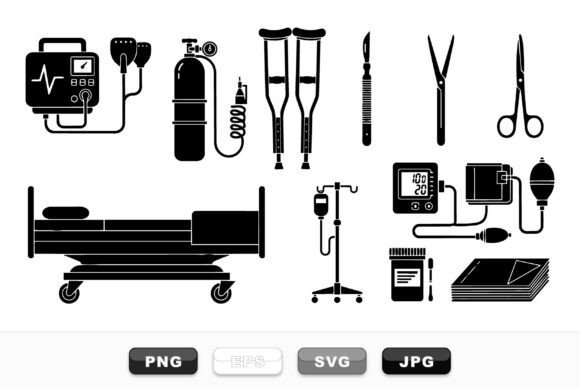
Medical Equipment Vector Icons
A Designer’s First Look: Clean, Calm, and Purposeful
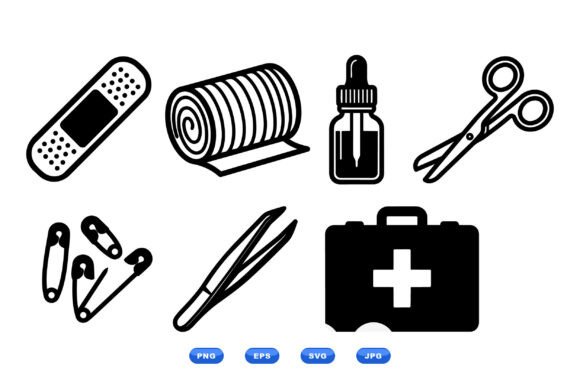
When I opened the Medical Equipment Vector Icons ZIP file, what struck me first wasn’t technical detail—it was tone. These aren’t flashy or stylized; they’re solid black silhouettes of stethoscopes, syringes, EKG waves, IV bags, and hospital beds—designed with quiet confidence. The minimalist style feels intentional, not minimal for minimalism’s sake. As an embroidery designer who’s stitched everything from nursery quilts to boutique aprons, I immediately pictured this set on a soft cotton tote bag for a pediatric clinic’s volunteer team: understated, respectful, and instantly legible.
Where This Design Naturally Lands in Real Embroidery Projects
The strength of Medical Equipment Vector Icons lies in its restraint. Because these are vector silhouettes—not intricate line art or shaded illustrations—they translate cleanly into machine embroidery design when adapted thoughtfully. I tested a few icons as simplified fill-stitch motifs on a medium-weight cotton sweatshirt: no fraying, no thread nesting, and crisp edges even at 3.5" wide. That makes them ideal for:
- Custom apparel—think embroidered scrub caps, lab coat pockets, or sweatshirt backs for healthcare staff appreciation gifts
- Personalized baby items—a single stethoscope icon on a swaddle or onesie reads gently, not clinically
- Embroidered patches—clean outlines hold up beautifully in satin stitch borders and dense fill centers
- Tote bag design and kitchen towel applications where clarity matters more than complexity
- Holiday embroidery and wedding gifts for nurses, med students, or retiring physicians—dignified, not kitschy
For Etsy sellers and small shop owners, this set works especially well as part of a cohesive collection: pair it with neutral-toned packaging, simple typography, and soft fabric mockups. It doesn’t shout—it invites trust.
What Requires Extra Attention Before Stitching
Not every silhouette behaves the same under needle and thread. While the overall style is clean, some icons—like the EKG waveform or multi-element IV pole—carry fine horizontal lines that can blur or disappear if stitched too small or on textured fabric. Here’s where practical judgment kicks in:
- Hoop size & stitch density: Avoid scaling below 2.5" without testing. Tight curves and narrow gaps (e.g., between syringe barrel and plunger) need adequate stitch spacing to avoid overloading the area.
- Fabric texture: On terry cloth towels or fleece, use cutaway stabilizer and reduce fill density slightly—those solid black shapes gain weight fast on plush surfaces.
- Dark fabric: Since these are black silhouettes by default, consider reversing the motif or using tonal thread (charcoal grey on navy, deep burgundy on black) for subtle contrast instead of stark white.
- Curved surfaces: Caps and hats demand careful digitizing—this set needs minor simplification (e.g., rounding sharp corners on the stethoscope earpieces) before it becomes a reliable embroidered patch or cap front.
- Frequent washing: For baby embroidery or nurse scrubs, confirm your digitizer uses secure underlay and avoids overly delicate running-stitch accents that might loosen over time.
How It Shapes Perception—Before and After Stitching
A handmade product isn’t just about technique—it’s about resonance. Medical Equipment Vector Icons carries quiet authority. It doesn’t lean into cartoonish charm or clinical sterility. That balance makes it unusually versatile: a new mom ordering a “Future Doctor” pillow cover feels reassured; a craft fair shopper picking up a holiday tea towel senses care, not cliché.
For commercial embroidery and small business branding, that nuance matters. It supports professionalism without coldness—and elevates giftability. I’ve seen similar designs flop when overloaded with detail or mismatched to fabric weight. These icons succeed because their simplicity serves function first. When stitched well, they read clearly at arm’s length, hold up after five washes, and still look intentional on a printable mockup used for Etsy listings or social previews.
Practical Notes Every Embroidery Designer Should Run Through
Before turning Medical Equipment Vector Icons into a finished product—whether for personal use, client work, or your craft business—take these steps:
- Test the design on scrap fabric matching your final project’s weight and stretch.
- Check thread color contrast: black-on-black won’t read; off-black or heathered tones often work better than pure white.
- Review stitch density—especially in solid areas—to prevent puckering on lightweight cotton or linen.
- Confirm hoop size compatibility. Some icons may require repositioning for standard 4x4 hoops.
- Inspect small details at actual stitch-out size: does the syringe tip stay distinct? Does the EKG line retain rhythm?
- Try black-and-white mockups. These icons rely on shape—not shading—so grayscale previews reveal real-world clarity.
- Compare light and dark fabric backgrounds. A design that pops on cream may vanish on charcoal unless adjusted.
- Use appropriate stabilizer: tear-away for stable wovens, cutaway for knits or towels.
- Verify licensing. Since this is labeled as Graphics in the Crafts category, confirm whether commercial use of finished embroidered items—or resale of digitized versions—is permitted.
Final Thought: Simplicity With Substance
Medical Equipment Vector Icons isn’t a trend-chasing bundle. It’s a thoughtful, reusable asset—like a well-cut pair of scissors or a trusted stabilizer brand. It won’t dazzle with animation or gradients, but it delivers consistency, dignity, and quiet recognition across apparel, home goods, and personalized gifts. For embroidery designers, Etsy sellers, and creative entrepreneurs building a sustainable craft business, that kind of reliability isn’t just convenient—it’s foundational.